
Before You Store Camping Gear: Clean, Dry, Check and Label
A simple post-trip routine for cleaning, drying, checking and organizing camping gear before it goes back into storage.

In This Dispatch
The trip is not quite finished when the last piece of gear comes out of the car. A short reset at home keeps dirt, moisture and small damage from becoming a surprise on the next outing. It also makes packing faster because you know what is clean, what needs attention and where everything belongs.
You do not need to deep-clean every item after every trip. Start with a practical pass: remove loose dirt, separate anything damp, check the parts that take the most wear and put the gear away only after it is ready for storage. For specific cleaning products, repairs and storage methods, the manufacturer’s instructions should always lead.
Empty everything before it goes on a shelf
Open tents, sleeping gear, cookware bags and small pouches before storing them. Shake out sand, leaves and crumbs where appropriate, then look for forgotten food, batteries, matches, trash or damp cloth. Small items left in a pocket can cause odors, corrosion or a frustrating search before the next trip.
Use this pass to separate borrowed gear and anything that needs a decision. A torn stuff sack, a missing stake or a worn cord is easier to handle when it goes in one visible repair pile instead of disappearing into a bin.
Dry first, then decide whether cleaning is needed
Moisture is the item to take seriously after a wet or humid trip. Give tents, tarps, ground cloths, clothing and sleep systems enough time to air out before long-term storage. A tent may look dry on the outside while seams, folds and corners still hold moisture.
Clean only as far as the item needs, and follow its care label or manufacturer guidance. For example, the care routine for a tent fabric is different from the routine for boots or a sleeping bag. Avoid assuming that one detergent, brush or drying method is right for every material.
Inspect the parts that make setup work
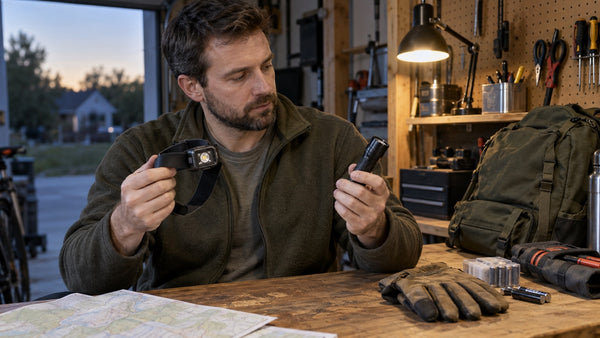
A quick inspection saves time later. Check tent poles for cracks or bent sections, look over stakes and guylines, and make sure zippers, buckles and closures move as expected. Open a headlamp or lantern compartment only if the maker’s instructions call for a battery check or removal before storage.
Write down a short repair or replacement list while the trip is still fresh. Keep it separate from the clean gear so a missing part does not become invisible. You do not need to solve every small issue immediately; you do need to make sure it will not surprise you at the trailhead.
Store by system, not by whatever fits first
Group equipment around the way it is used. A shelter bin might hold the tent, ground cloth, stakes and repair kit. A camp-kitchen bin might hold cookware and utensils after they are cleaned and dry. A small pouch can keep compatible cords or accessories together when the manufacturer permits that storage arrangement.
Plain bins, shelves or clear containers can all work. The useful test is whether you can see what belongs together and get it out without emptying the whole storage area. If you label a container, use a simple category such as “shelter” or “camp kitchen” rather than a long inventory that will be out of date after one trip.
Give bulky gear room when the maker calls for it
Some items have storage guidance that is more specific than “put it in a bag.” Tent-care guidance, for example, can call for loose storage in a cool, dry place. Sleeping gear, pads and other fabric items may have their own recommendations about compression, folding and temperature. Check the instructions for the exact item before making a long-term arrangement.
Keep stored gear away from obvious moisture sources, direct heat and areas where pests are a concern. If your only storage space has limitations, focus on keeping the equipment clean and dry first, then use containers and placement that fit the manufacturer’s advice.
End with a next-trip note
Before you close the bin, leave one short note in your trip-planning list: what was used up, what needs repair and what should be packed differently next time. This turns the storage routine into a useful handoff to your next packing session.
- Empty and shake out gear before storing it.
- Let damp items dry fully and use maker-specific cleaning guidance.
- Inspect poles, closures and small setup parts.
- Group gear by system and keep repairs visible.
- Follow the exact storage instructions for bulky or sensitive items.
A good storage routine is simple enough to repeat. Clean, dry, check and label what needs attention, and your gear will be easier to find and evaluate before the next trip.
Sources: REI’s camping and hiking gear-care guide; REI’s tent-care guide.
From Our Shop
Keep the essentials for your next trip organized in one dependable place.
Explore survival gear →Was this dispatch helpful?
Thanks for the feedback.

BattleGear™ 132-in-1 Precision Screwdriver Set - Tactical Repair Tool Kit with Magnetic Bits
132 Bits. One Tool. Zero Excuses When Your Gear Needs Fixing. When you're out in the field, at the range, or handlin...