
How to Dry a Wet Backpack Without Damaging It
A practical, label-first routine for drying a rain-soaked backpack, checking it before storage and keeping it ready for the next trip.

In This Dispatch
A wet backpack does not need a dramatic rescue. It needs an orderly reset before moisture gets trapped in padding, pockets or hardware. Start by following the care label and the maker's instructions for your exact pack. From there, the safest general approach is simple: empty it, open it, remove surface water and give it steady airflow away from direct heat.
That routine works whether rain caught you on a trail, gear got wet at a range day or a pack came home from a damp campsite. The goal is not to make the bag look new in an hour. The goal is to get every layer dry enough that it can be checked, repacked and stored without hiding moisture.
Empty the pack before you try to dry it
Move the contents to a dry surface and work through every compartment. Check small organizer sleeves, side pockets, hydration sleeves and any pocket behind a frame sheet. A forgotten snack, paper item, battery or cloth pouch can hold moisture against the inside of the bag long after the exterior feels dry.
Remove detachable accessories only when the maker allows it. If you use a removable frame, hip belt or rain cover, set each piece aside so air can reach both it and the pack. Shake out loose dirt, leaves and grit before wiping or cleaning. Dirt rubbed into wet fabric can make the cleanup harder later.
Open every place where water can hide
Unzip the main compartment and the smaller pockets. Loosen compression straps enough that the fabric is not folded tightly against itself. Turn the pack so water can drain from corners and seams, then reposition it as needed. The exact hanging method depends on the design, but the important part is exposing the interior instead of leaving the bag closed in its usual packed shape.
Pay special attention to padded shoulder straps, back panels and waist belts. Those areas can stay damp longer than a thin outer panel. If the bag has a care label with drying directions, follow that instruction over any general advice.
Use towels to remove water, not to force the process
Press a clean, dry towel against wet panels and padded areas to lift surface moisture. Replace the towel when it becomes saturated. Avoid twisting, wringing or aggressively scrubbing the pack, especially around coated fabrics, mesh and zipper areas.
A towel can speed up the first stage, but airflow finishes the job. Place the pack in a shaded, ventilated spot or indoors where air can circulate. Direct sun and heat sources may be tempting when you are in a hurry, but a label-first approach is safer for fabrics, coatings, foam and hardware. A clothes dryer is not a default shortcut for a backpack.
Clean only what the care guidance supports
Rainwater alone may only call for drying. Mud, sweat or a spill may call for cleaning, but cleaning instructions differ by material and construction. Check the maker's guidance before soaking, using detergent or treating a stain. If the instructions allow gentle cleaning, work in a small area with a soft cloth or brush and rinse according to the stated directions.
Do not assume a water-resistant finish makes every pack safe to machine wash, nor that every pack can be submerged. The general guidance from backpack-care sources is to avoid high heat and to let the specific product instructions decide the cleaning method.
Give the bag enough time
Drying time changes with humidity, fabric thickness and how much water reached the padding. Treat the outside as only the first check. Run a dry hand inside the main compartment, press the shoulder straps and inspect the seams, pocket corners and webbing. If any of those spots still feel cool or damp, leave the pack open longer.
A small fan moving room air nearby can help in a well-ventilated indoor space, provided it is stable and not aimed at a wet electrical connection. Keep the focus on normal airflow rather than concentrated heat. Before adding electronics or documents back to the pack, confirm their storage pocket is fully dry.
Inspect the pack before putting it away
Once the bag is dry, run a quick readiness check. Close and open each zipper gently, brush out any remaining grit and look at buckles, pulls and strap stitching. If you use a hydration bladder, follow its separate care instructions and confirm both the bladder and sleeve are dry before storage.
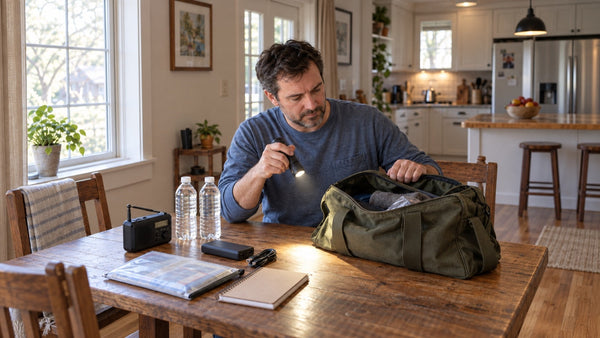
This is also a useful time to return essentials to their known places. If the backpack supports an emergency kit or outdoor setup, use the same simple routine as a 30-minute emergency-kit check: confirm the item is dry, in date where applicable, and located where you expect it.
A practical post-rain routine
- Empty every compartment and remove loose debris.
- Open pockets, loosen straps and let trapped water drain.
- Press wet areas with clean towels.
- Air dry in shade or a ventilated indoor spot, following the label.
- Check padding, seams, pockets and hardware before repacking.
That is enough for most rain-soaked packs. It keeps the task manageable and gives you a chance to notice damage or missing gear before the next use. If the care label conflicts with this routine, the label wins.
Sources: REI backpack cleaning guidance; Helly Hansen backpack care guide.
A well-organized pack makes it easier to dry, inspect and put gear back where it belongs after a wet day out.
Explore backpacks and rucks →Was this dispatch helpful?
Thanks for the feedback.

BattleGear™ 132-in-1 Precision Screwdriver Set - Tactical Repair Tool Kit with Magnetic Bits
132 Bits. One Tool. Zero Excuses When Your Gear Needs Fixing. When you're out in the field, at the range, or handlin...